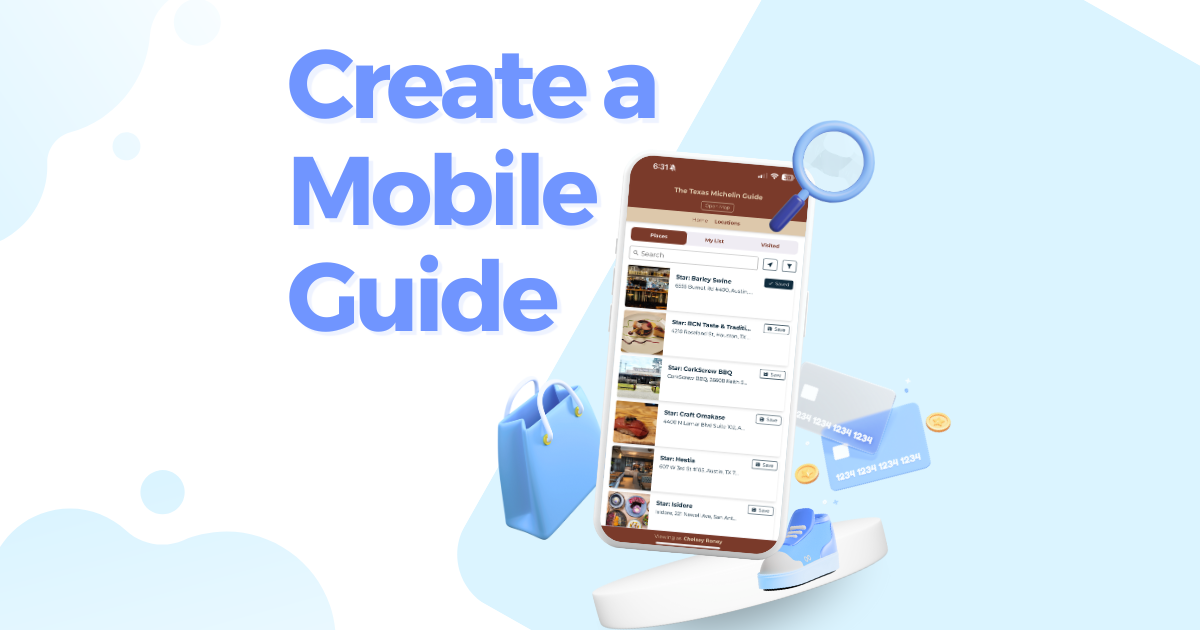
Adding details to your map points is the key to creating an engaging, informative, and interactive experience for your viewers. Whether you're crafting a local guide, a business directory, or a community event map, customizing your points ensures that your audience gets the most out of your map. This guide walks you through all the customization options available for Proxi Points!
The Two Essential Requirements for Map Points
Every point on your map must have two key elements:
1) Location
Locations don’t have to be traditional addresses! You can double-click anywhere on the map to place a point exactly where you need it, then drag it for precise positioning. This is especially useful for non-traditional locations like hiking trails or vendor spots at a street fair.
You can search for a place by name (e.g., “Pike Place Market”), enter a specific address, or use latitude and longitude coordinates.
2) Category
Each point must be assigned a category and can have only one. Icons are set at the category level, but you can upload custom icons for specific points. (Pro tip: Offer branded icons as a sponsorship opportunity and charge extra!)
Everything beyond these essentials can be fully customized to fit your needs!!
Standard Add-Point Elements
Enhance your map points with additional details to provide more context and engagement.
Point Title
Give your point a clear and descriptive name. This title appears in large, bold text on your map point cards, making it easy for users to identify key locations at a glance.
Tags and Tag Groups
Since each point can only have one category, tags are the best way to make points more searchable and filterable. Assigning multiple tags to a point helps users quickly find what they’re looking for. You can manage both categories and tags in the Category & Tag Management section.
Examples of Tags and Tag Groups
A well-structured tag system improves searchability and enhances the user experience. Here are some examples of how to organize tags:
- For a food and drink map:
- Tags: “Happy Hour,” “Open Late,” “Vegan Options”
- Tag Group: Price Range → $, $$, $$$
- For an event map:
- Tags: “Family-Friendly,” “Live Music,” “Outdoor”
- Tag Group: Event Type → Festival, Concert, Workshop
- For a travel guide:
- Tags: “Historical Sites,” “Scenic Views,” “Hidden Gems”
- Tag Group: Difficulty Level → Easy, Moderate, Challenging
By setting up clear and meaningful tag groups, you make it easier for users to filter points and get the most out of your map!
Descriptions
Adding descriptions gives users valuable context about each point on your map. A great description can:
- Provide background information, history, or key details about the location
- Highlight unique features or must-know facts
- Make your map more engaging and informative
Use rich text formatting to structure your descriptions with headings, bold text, italics, and bullet points for easy readability. Well-written descriptions ensure users get the most out of your map!
Links
Make your points more useful by adding relevant links:
- Hyperlinks – Direct users to websites, resources, or additional information.
- Embedded Media – Enhance your points with videos, audio clips, images, and more. (Check out our multimedia snippets blog for best practices!)
Buttons
Make your map interactive with action buttons:
- More Info Link – A clickable button that directs users to any URL. (Pro tip: Buttons receive 20x more clicks than hyperlinks in descriptions!)
- Get Directions – Helps users navigate to the point with one tap.
- Mark as Visited – Allows users to track where they’ve been.
- OpenTable Reservations – Perfect for restaurant maps, making bookings seamless.
- Special Offers – Highlight exclusive discounts or promotions tied to the location.
Want to customize your buttons? Check out our Point Action Settings deep dive below for all the details!
Photos
Upload multiple images to create a carousel-style cover for each point. These images appear at the top of your point card, giving users a visual preview of the location.
Google Images Integration: We automatically pull in Google images to populate your map points. You can turn this feature off in the Point Settings section if you prefer to use your own photos
By incorporating these elements, you can make your map more informative, engaging, and user-friendly!
Point Settings
Make your map more engaging and user-friendly by customizing how points appear and function.
Rename ‘Point’
Want your map to feel more on-brand? Rename “Point” to fit your theme!
- A Halloween map could use “Candy Stops”
- A business directory could list “Members”
- A crowdsourced map might label them “Recommendations”
Custom labels guide users in adding the right points to your map. (Need help with crowdsourcing? Check out our Crowdsourcing Guide!)
Point Display Options
Fine-tune how your points appear on the map with these settings:
Enable Point Numbers – Perfect for walking tours or ranked lists. Choose to:
- Replace icons with numbers
- Keep numbers as a secondary icon
- Create an ordered list for easy navigation
Enable Date/Time – Display event schedules for single-date events. (Note: Recurring schedules are not supported.)
Custom Sort Order – Control how points are listed:
- By distance – Ideal for helping users find the closest locations
- Alphabetically – Great for directories
- By category – Our top recommendation for organized browsing
Show Google Images – Automatically pull in the most-viewed image from Google to add visual interest. A simple way to enhance your map without extra effort!
Show ‘Also Featured On’ – Highlight points that appear on multiple maps that YOU created. This helps connect users to more of your maps, creating a powerful ecosystem. (Example: A “Kid-Friendly Travel Guide” map could also feature locations from your “Weekend Getaway” map!)
Embed All Description Links – Convert supported links into embedded content automatically. If a hyperlink leads to multimedia, it will display as an interactive embed rather than just a text link.
With these settings, you can customize your map to be as functional and visually compelling as possible!
Point Actions
Make your map more interactive by enabling actions that encourage engagement and user participation.
Upvoting
Let users vote for their favorite points to highlight the most popular locations. This is great for community-driven maps, such as:
- Best restaurants in town
- Favorite hiking trails
- Top holiday light displays
Multi-Point Select
Allow users to select multiple points at once. This is especially useful for:
- Planning customized itineraries, users can add these points to their map.
- Generating routes between these points.
Get Directions
Guide users seamlessly with direct navigation options. You can:
- Rename the button to match your theme (e.g., “Find Your Way” or “Navigate Here”)
- Customize travel mode options to suit your map’s purpose
- Driving for road trips or city navigation
- Walking for pedestrian-friendly areas
- Biking for cycling routes
- Transit for public transportation-friendly maps
Generate Routes
Help users plan their visits by enabling route generation. Users can:
- Select multiple points and create an optimized route
- Choose their preferred mode of travel (Drive, walk, bike, transit)
Mark as Visited
Enable users to track their visits by marking locations they’ve been to. Point icons will be replaced by a checkmark to easily visualize their visited locations. Customize the label to match your map’s purpose, such as:
- “Check-In” for a travel challenge
- “Completed” for a scavenger hunt
- “Visited” for a tourism map
More Information Button
Provide additional details with a dedicated button. You can:
- Rename it to match your audience’s expectations (e.g., “Learn More” or “See Details”)
- Link to in-depth resources, business pages, or related content
Booking Buttons
Make it easy for users to take action directly from the map. Options include:
- OpenTable Reservations – Perfect for restaurant maps, allowing users to book a table instantly
- Event Ticketing Plugins – Direct users to ticket purchase pages for concerts, festivals, and other events
By enabling the right point actions, you can turn your map into an interactive, user-friendly tool that keeps visitors engaged!
Add-Ons to Level Up Your Points!
Turn your map into a powerful engagement and revenue-generating tool with these premium features. Whether you want deeper insights, interactive discussions, or monetization options, these add-ons will help you get more value from every point on your map.
📊 Point Analytics – Know What Works
Unlock in-depth data on how users interact with your points. With detailed analytics, you can track:
- Point Opens – See which locations attract the most interest.
- More Info Button Clicks – Measure how often users seek additional details.
- Get Directions Clicks – Understand which places users actually visit.
- Point Shares – Find out which locations are being spread through social sharing.
- Booking Clicks – Monitor engagement for reservation and ticketing buttons.
- Like Counts – Identify the most popular points on your map.
Use these insights to refine your content, optimize your marketing strategy, and showcase value to sponsors or stakeholders.
📥 Generate Leads & Collect User Data
Turn your map into a lead generation tool with Point Inquiry Forms—perfect for businesses, real estate listings, event organizers, and more. Capture valuable user information right at the point level and convert interest into action!
💬 Enable Comments on Points – Drive Engagement
Encourage interaction and feedback with a built-in commenting system. Choose from:
- Moderated Comments – Admin approval required before publishing (great for controlling public content).
- Private Comments – Only visible to admins (perfect for internal feedback or staff-only notes).
- Public Comments – Instantly visible to all users (ideal for community discussion and crowdsourced recommendations).
Great for gathering user insights, fostering discussion, and building a community around your map!
🔒 Lock Points Behind a Paywall – Monetize Your Map
Create exclusive, revenue-generating content by restricting access to premium locations. Options include:
Pay-to-Unlock – Viewers must pay to reveal point details, perfect for VIP travel guides, digital coupon books, or exclusive event maps.
Final Thoughts
Customizing your Proxi Points enhances the user experience, increases engagement, and provides valuable information in an interactive format. Whether you're building a city guide, an event map, or a community directory, these features give you the flexibility to create a tailored experience that meets your needs.
Start building your perfect map today!
Related Articles
Get Inspired
View All Featured MapsAdventure Awaits!
Check out some of the latest articles on our blog


.png)
.png)
